
DIY Sushi
My kids love sushi. If we take them to a sushi restaurant, they will eat several rolls apiece and look around for more. For my daughter’s birthday, I wanted to get us a sushi fix with minimal fuss. I’ve made full-throttle sushi at home in the past, getting sashimi-grade fish from a specialty shop. It was good. It was a bit of a project! I’ve also made sushi for my kids’ lunch using nothing fancier than tuna salad. The key to success in either case, I’ve found, is to get the details right, like sushi rice and freshly toasted sesame seeds. The flavors will be fully satisfying even if the high-end authenticity is absent.
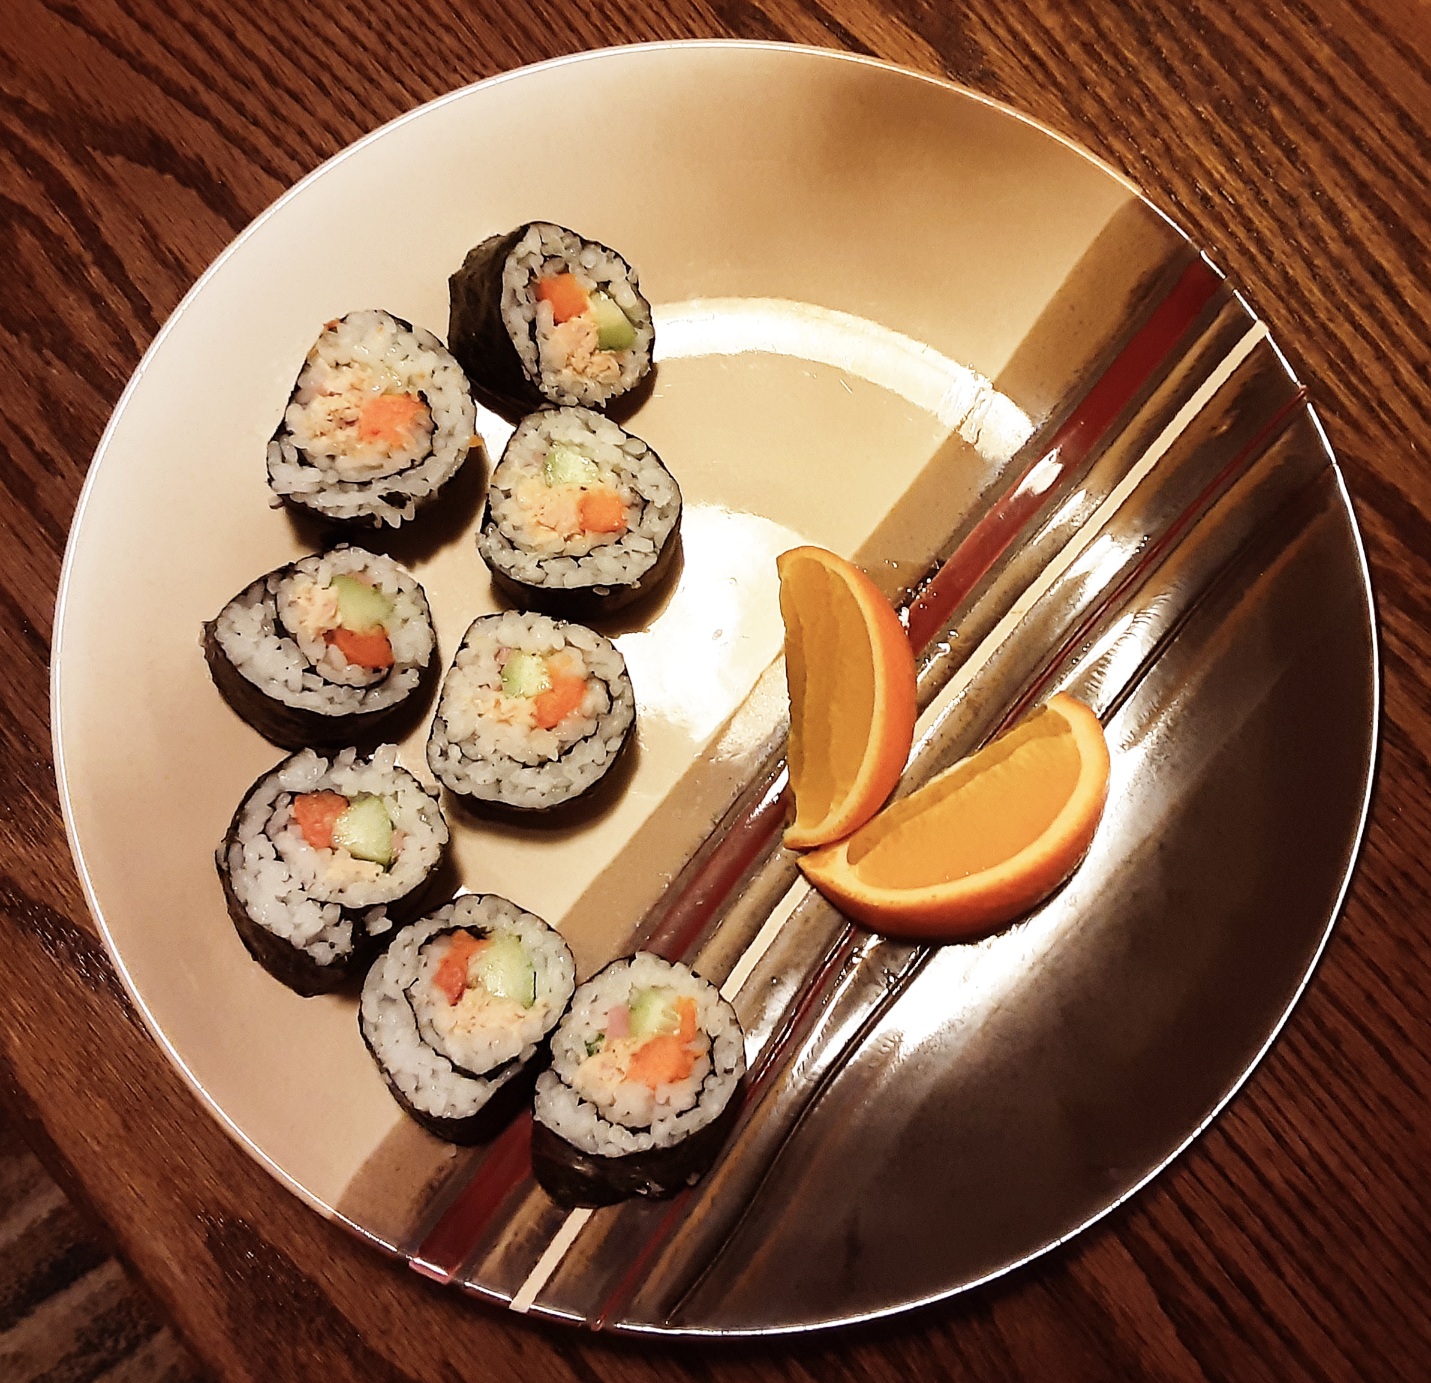
Filling ideas:
- Raw fish: make sure it’s labeled sushi grade and use it the same day.
- Freshly cooked fish: such as glazed salmon.
- Pantry-friendly: tuna salad with Japanese flavors.
- Most convenient: various pre-cooked seafood options from your supermarket fish counter.
- Egg: cook a thin omelet and slice it into narrow strips. I haven’t tried it but I bet bacon and egg would be delicious.
- Mushrooms: sautéed until well-browned: the perfect vegan option!
- Roasted sweet potato or butternut squash (use leftovers or roast a big batch to serve alongside the sushi).
- Pickled onions or radishes are a nice touch.
- Lightly cooked veggies such as asparagus or green beans.
- Raw, crisp-but-not-crunchy veggies such as bell pepper, cucumber, sprouts, scallions.
- And of course, avocado!
When you are pairing fillings, you want to think about flavor and texture compatibility. Match something rich and savory with something light and fresh.
With that settled, you’ll need properly prepared rice. I use this recipe from an old cookbook I have called Japanese by Lulu Grimes. It makes enough for 4-5 rolls, perfect for an appetizer tray to take to a party, but if you are serving it as a meal component for more than a few people, double the recipe.
- 1 ¼ cups Japanese short-grain rice (best results from rice labeled sushi rice)
- Scant 1 ½ cups water (to double the recipe, use 2 ¾ cups water)
- 2 Tbsp sushi vinegar; seasoned rice vinegar; or plain rice vinegar with 1 tsp sugar, 1 tsp mirin, and ½ tsp salt stirred in.
Rinse the rice in a fine-mesh strainer in cold water until it runs clear. Drain, and place in a medium (or large) saucepan with the measured water listed above. Bring quickly to a boil, then cover, reduce heat to low, and cook for 10 minutes. Remove from heat and let stand, covered, for 15 minutes. Then, scoop it out into a wide shallow bowl, pour the sushi vinegar over it, and stir gently for a minute or two. Let it hang out briefly. It needs to be cool enough so it doesn’t cause the nori to tear.
Meanwhile, gather your fillings and a few other elements:
- Toasted seaweed (nori) sheets
- Toasted sesame seeds
- Soy sauce
- Wasabi
- Pickled ginger
You’ll need a sushi rolling mat, or a flexible surface that the nori won’t stick to, to help with tidy rolling. Fill a shallow dish with water, and have a dish towel handy. Wet hands will keep the sticky rice from being unmanageable.
Ready to roll? Here we go!
Lay a sheet of nori, shiny side down, on the sushi mat. Dip your hands in water and take a small handful of rice. You want an even but thin layer across the whole width, leaving ¾ inch free at the further edge. Sprinkle with sesame seeds. Lay your filling(s) down in rows near the edge closest to you. Pick up the edge of the mat and roll it over the fillings, tucking in the nori edge and rolling the mat back as you go. Use your fingers to dampen the free edge and roll over to seal.
When you’ve got your rolls, slice them with a sharp knife, wet to avoid sticking.
It feels pretty magical to produce a big tray of sushi right there in your kitchen. Serve with soy sauce, wasabi, and pickled ginger. “Do-ita-shima-shi-tay.”
Leave a Reply